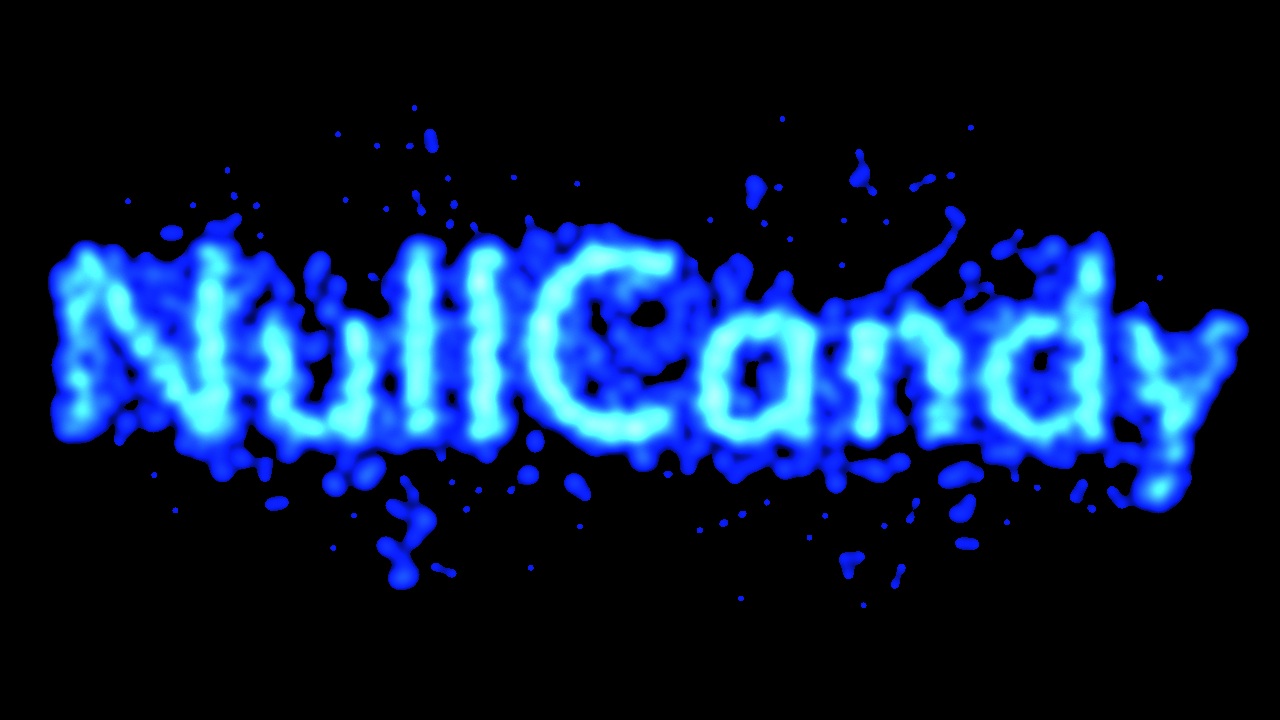
This is an easy to implement, cool little effect. We’re going to use particle effects to form text as shown in the video below. You can use it to spice up a menu screen or credits.
I recommend watching the videos in HD since the particles are very small and get blurred a lot on lower resolutions.
The basic technique is the same in both XNA and JavaScript. We draw some text to a render target or canvas and read back its pixels. Then, create one particle for each pixel that makes up the text on our canvas. Finally, place all the particles randomly and have them fly towards their proper position in the text.
If you’d rather skip the XNA and see the JavaScript, click here.
Steps in XNA
First we need an image for our particles. Here’s the one I used in the above video:
![]()
Next you need a SpriteFont. Add a new SpriteFont to your XNA content project and set the font size around 50. We will be scaling the text later, so the font size doesn’t have to be the size you want the text to appear on screen. Instead, the font size will control how many particles we use. The larger the font, the more particles will be created.
Now we need a Particle class. At its simplest, it could look like this:
class Particle
{
	public Vector2 Position { get; set; }
	public Vector2 Destination { get; set; }

	public void Update()
	{
		// move 1/60th of the way to your destination
		Position += (Destination - Position) / 60f;
	}
}
This will cause the particles to initially move quickly towards their destination, and slow down as they get close. In my demo, I use a slightly more complex Update() method that makes the movement a bit nicer and makes the particles wiggle around when they reach their destinations. You can get fancy with your particles and add other properties like velocity, color, or rotation.
The next step is to figure out what particles to create. To do this, we create a RenderTarget2D, draw our text to it, and read back the pixels:
List<Vector2> GetParticlePositions(GraphicsDevice device, SpriteFont font,
	string text)
{
	Vector2 size = font.MeasureString(text) + new Vector2(0.5f);
	int width = (int)size.X;
	int height = (int)size.Y;

	// Create a temporary render target and draw the font on it.
	RenderTarget2D target = new RenderTarget2D(device, width, height);
	device.SetRenderTarget(target);
	device.Clear(Color.Black);

	SpriteBatch spriteBatch = new SpriteBatch(device);
	spriteBatch.Begin();
	spriteBatch.DrawString(font, text, Vector2.Zero, Color.White);
	spriteBatch.End();

	device.SetRenderTarget(null);	// unset the render target

	// read back the pixels from the render target
	Color[] data = new Color[width * height];
	target.GetData(data);
	target.Dispose();

	// Return a list of points corresponding to pixels drawn by the
	// font. The font size will affect the number of points and the
	// quality of the text.
	List<Vector2> points = new List<Vector2>();
	for (int y = 0; y < height; y++)
	{
		for (int x = 0; x < width; x++)
		{
			// Add all points that are lighter than 50% grey. The text
			// is white, but due to anti-aliasing pixels on the border
			// may be shades of grey.
			if (data[width * y + x].R > 128)
				points.Add(new Vector2(x, y));
		}
	}

	return points;
}
Using the points returned from GetParticlePositions() as our particles’ destinations, we create our particles and give them a random initial position.
Random r = new Random();
var textPoints = GetParticlePositions(graphicsDevice, font, text);

foreach (var point in textPoints)
{
	var particle = new Particle()
	{
		Position = new Vector2(r.Next(screenWidth), r.Next(screenHeight)),
		Destination = point
	};

	textParticles.Add(particle);
}
All that’s left to do is update and draw the sprites each frame. If you’re using the particle texture I used, you will want to use additive blending.
// In Update()
foreach (var particle in textParticles)
	particle.Update();

// In Draw()
spriteBatch.Begin(0, BlendState.Additive);
foreach (var particle in textParticles)
{
	Vector2 pos = particle.Position * scale;
	Vector2 origin =
		new Vector2(particleTexture.Width, particleTexture.Height) / 2f;

	spriteBatch.Draw(particleTexture, pos, null, color,
		0f, origin, 1f, SpriteEffects.None, 0);
}
spriteBatch.End();
You can set the scale and color variables in the above code as you like. I used a scale of 4, and set color to new Color(10, 30, 255).
Variations
Now the you have the basic technique, you can play around with it to make it more interesting. For instance, you could make the particles spiral in towards their destination, or alter their color based on their position.
In my last post I described how to make 2D metaballs in XNA. You can easily combine that effect with your particle text. Just use a metaball texture for your particles and render them to a RenderTarget2D. Then draw the render target to the screen using AlphaTestEffect.
Here are the results:
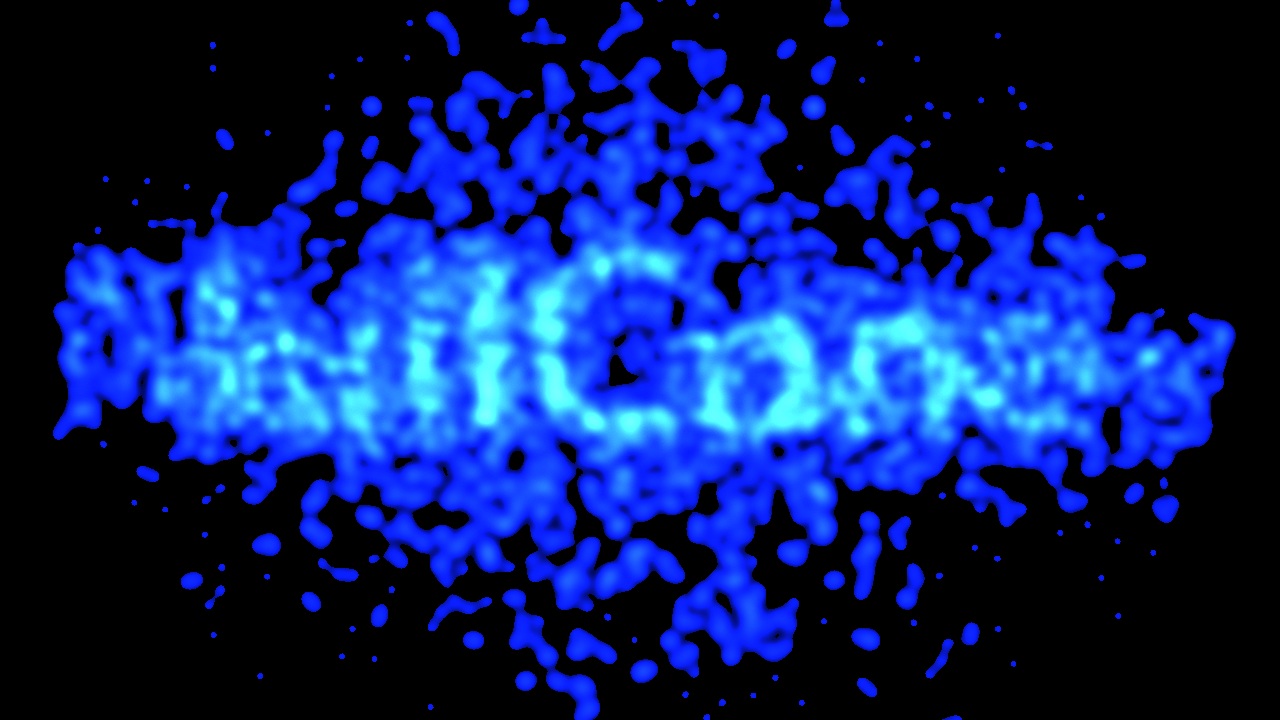
In this video I used a different texture for my metaball particles:
Although I haven’t written it yet, I have another tutorial planned on how to make lightning in XNA. (Edit: you can find the lightning tutorial here.) Here’s a preview of the lightning effect combined with particle text. It’s done by randomly choosing pairs of particles that are near each other and drawing a lightning bolt between them.
JavaScript version
The JavaScript port works much in the same way as the XNA version. We start off by making a temporary canvas:
var tempCanvas = document.createElement("canvas");
tempCanvas.width = canvas.width;
tempCanvas.height = canvas.height;

// Fill the canvas in with a white background. Our text will be black.
var tempContext = tempCanvas.getContext("2d");
tempContext.fillStyle = "white";
tempContext.fillRect(0, 0, tempCanvas.width, tempCanvas.height);
Here, canvas refers to the visible canvas on the page. The setup has been omitted for brevity.
Next, we draw the text to the temporary canvas:
tempContext.font = "50px serif";
tempContext.textBaseline = "top";
tempContext.fillStyle = "black";
tempContext.fillText("Hello!", 0, 0);
Now, we need to read back the pixel data from the temporary canvas:
var width = tempCanvas.width,
    height = tempCanvas.height,
    imageData = tempContext.getImageData(0, 0, width, height);
getImageData() returns a CanvasPixelArray containing the pixel data (as well as the width and height of the requested rectangle). The CanvasPixelArray is essentially a flattened array of pixel RGBA values, where each value takes up one entry in the array. So, the array will be four times as large as the number of pixels.
Now, as in the XNA version, we loop through each pixel and create particles:
for (var x = 0; x < imageData.width; x++) {
    for (var y = 0; y < imageData.height; y++) {
        var pixelIndex = imageData.width * 4 * y + x * 4,
            r = imageData.data[pixelIndex],
            g = imageData.data[pixelIndex + 1],
            b = imageData.data[pixelIndex + 2],
            a = imageData.data[pixelIndex + 3];

        // If it's not white, it gets added as a particle.
        if (r !== 255 || g !== 255 && b !== 255) {
            var posX = Math.floor(Math.random() * canvas.width),
                posY = Math.floor(Math.random() * canvas.height);
            particles.push({
                position: [posX, posY],
                destination: [x, y],
                velocity: [0, 0]
            });
        }
    }
}
All that’s left is the update loop. Here, we loop through all the particles, adjust their velocities and positions, then draw them:
for (var i = 0; i < particles.length; i++) {
    var particle = particles[i],
        dx = particle.destination[0] - particle.position[0],
        dy = particle.destination[1] - particle.position[1];

    particle.velocity = [dx / 30, dy / 30];
    particle.position[0] += particle.velocity[0];
    particle.position[1] += particle.velocity[1];

    drawParticle(particle);
}
Conclusion
You can download the demo source code for XNA or try out the JavaScript version. Play around with it and make some cool variations. The only limit is your imagination.
Pingback: How to Generate Shockingly Good 2D Lightning Effects | Gamedevtuts+
Pingback: Cool Effects (XNA & MonoGame) ← Int6 Studios